My Self Taught Calligraphy Journey

Affiliate links are included in this post. I may make a small commission if you choose to shop my suggestions! All items listed are things that I currently own/use or have in the past.
It was 2019. I was newly engaged, the pandemic had yet to press pause on all our lives, and I was determined to calligraph my own envelopes for my wedding invitations. Lettering was something I was always interested in learning, and my own wedding was a great motivator for me to finally push myself beyond simply doodling in the margins of my notes at work. Little did I know, this practice would change my life, snowballing into a new career, full-time business as a stationery artist, and a true passion for watercolor illustration. But it all started with calligraphy.
Read on for some insight into my journey from hobby to side hustle to professional calligraphy and stationer, and scroll to the bottom to find my complete list of recommended supplies!

April 23, 2021
Beginnings
How did I officially get started? I did take a great class in 2018 (Lettering by Liz -- highly recommend for Boston-area people!), and though I felt like I had a knack for it, something wasn’t quite clicking for me. In my practice following the class, I wasn’t able to get over certain issues like ink blobs and splatters, and I just couldn’t seem to master a consistent look with those lovely, contrasting thin up and thick down strokes that make calligraphy so beautiful. I got frustrated and gave up for a while.

Early lettering of mine, doodled in 2016
In 2019, I resolved to revisit the practice, but with the same supplies. When I grew frustrated again, I switched to brush pens. I initially made the mistake of trying the large tipped brush pens I was seeing on Instagram first (Tombow Dual-tip Pens, to be exact. Which, for the record, I now love and use regularly, but wouldn’t recommend for beginners). When I switched to these smaller brush pens, I had better luck, finally seeing some progress!
Ultimately, I was determined to learn pointed pen calligraphy. And what it ended up taking was of course time, commitment, and practice. But, there are some breakthroughs I’ll outline next that I truly felt brought about change and progress in my practice that eventually lead to the result I was looking for!

January 12, 2019
Breakthroughs
Understanding the Importance of Quality Supplies
I don’t remember when or why I decided it was time to try something different, but I reached a point where I realized that the supplies I had obtained through the class I’d taken just weren’t for me. It’s not that they weren’t good! I just think that everyone is different, and experimenting with materials is a really important part of learning and perfecting your practice in any art. The first thing I did was go to Blick and pluck Sumi Ink and Nikko G nibs from their limited calligraphy options. Using those new products, I noticed a change in how things were working. Over time, I tried other new things. For example: writing on (cheap) watercolor paper; introducing Dr. Ph Martin’s Bombay India Inks; leaning on brush pens. Experimenting was great for me! And it also kept practicing from becoming stale.
Practice, Letterforms, and Muscle Memory
The simple secret to mastering calligraphy is the same as everything else: practice. It’s obvious, but here’s why. Calligraphy does not have to be as complicated as it looks. It also doesn’t require that one has inherently good handwriting! It’s kind of a puzzle, if you think of it. When you take out the flourishes and other embellishments, calligraphy is made up of just a handful different strokes. 8 to be exact. Practicing those strokes to the point where you’ve got them down to muscle memory, while tedious, is what’s going to provide a great foundation for you to perfect your lettering and develop your style. Here’s a great video to check out from The Happy Every Crafter that explains this further.

December 12, 2019
Buying a Light Box and Using Guidelines
When I started using a lightbox and/or penciling in guidelines on my paper, I really began to develop some consistency in my style. Using the guides just forced me to keep everything contained, and allowed my to easily repeat those same motions over and over, working toward that muscle memory. Basically tracing over guides like these is one great way to get started, too. Or simply practicing with blank guides, like the freebie offered by Molly Suber Thorpe on her website (I still use these guides for my brush lettering for invitations!) works too. In early calligraphy jobs, I lined my envelopes with pencil using a quickliner. While this added a lot of extra time, it helped me with consistency and confidence in the early days, when I needed it.
Diluting the Ink
Something I didn’t immediately realize was that I needed to work on diluting the ink to perfection each time I sat down with my nib and ink! I suggest purchasing a set of dinky dips with wooden base as well as pipettes from Paper Ink Arts to best to this. I personally drop in the water and stir is with toothpicks. Keep a scrap of paper near you to continuously test out and offload excess ink before writing.
Switching to an Oblique Pen Holder
For me (right-handed), a straight holder wasn’t cutting it. I switched to an oblique holder and while it felt awkward at first, a learning curve gave way to much improved style for me. It’s now all I really use, for pointed pen.

December 23, 2019
Cushion
Another random mistake I made was not having enough cushion under my paper when practicing. I found it helped a lot to practice on a small stack of printer paper vs. just one sheet on the hard table. Alternatively, a notebook helps. For whatever reason, this allows the ink to flow better, and the strokes to feel more natural for me.
Sharing Your Work, Online and IRL!
The truth is, Instagram changed my life. During the pandemic, as I began to practice calligraphy quite a lot, I also started taking pictures of it and posting them to instagram. This allowed people to see what I was up to with my art, and forced me to hold myself accountable with practice and progress, too.
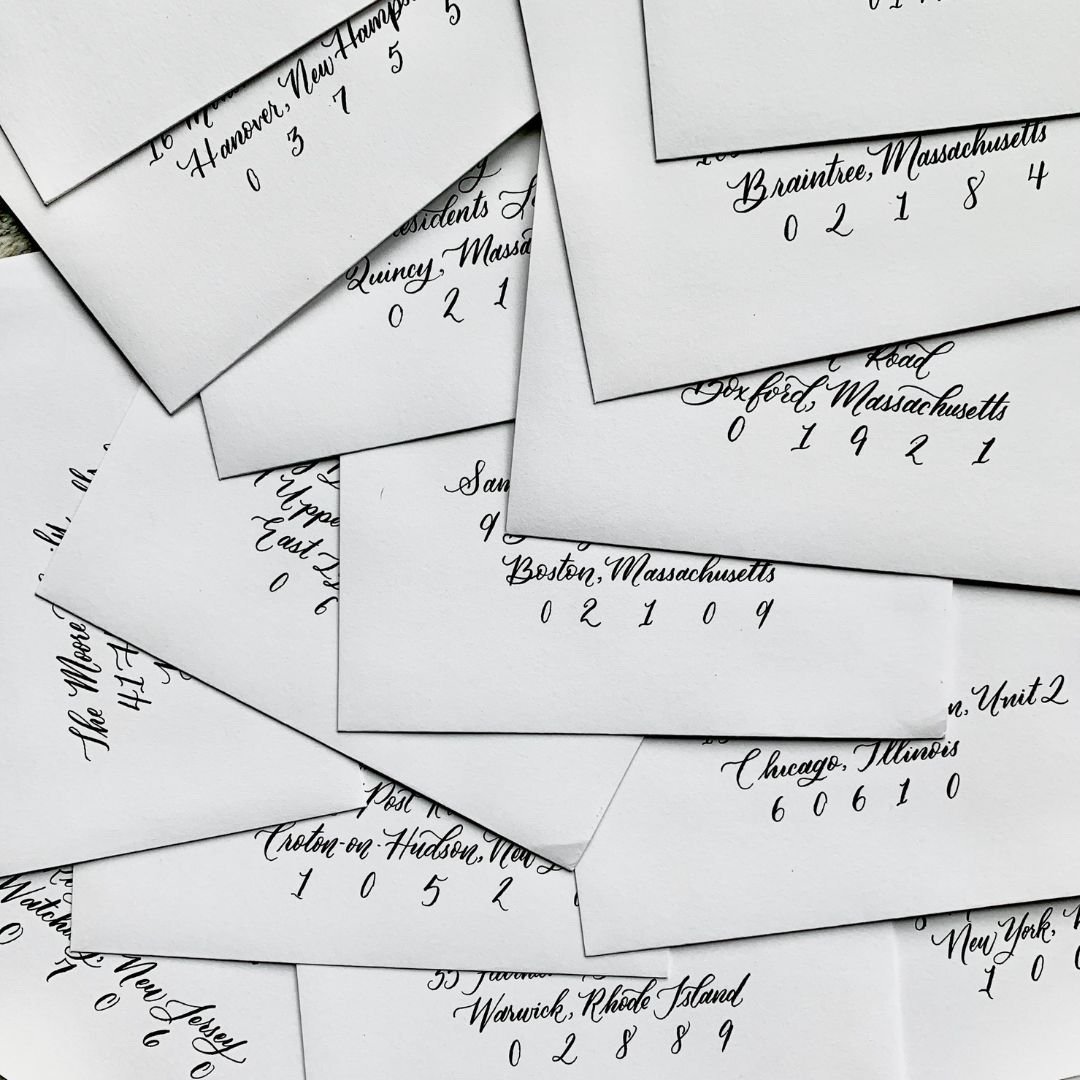
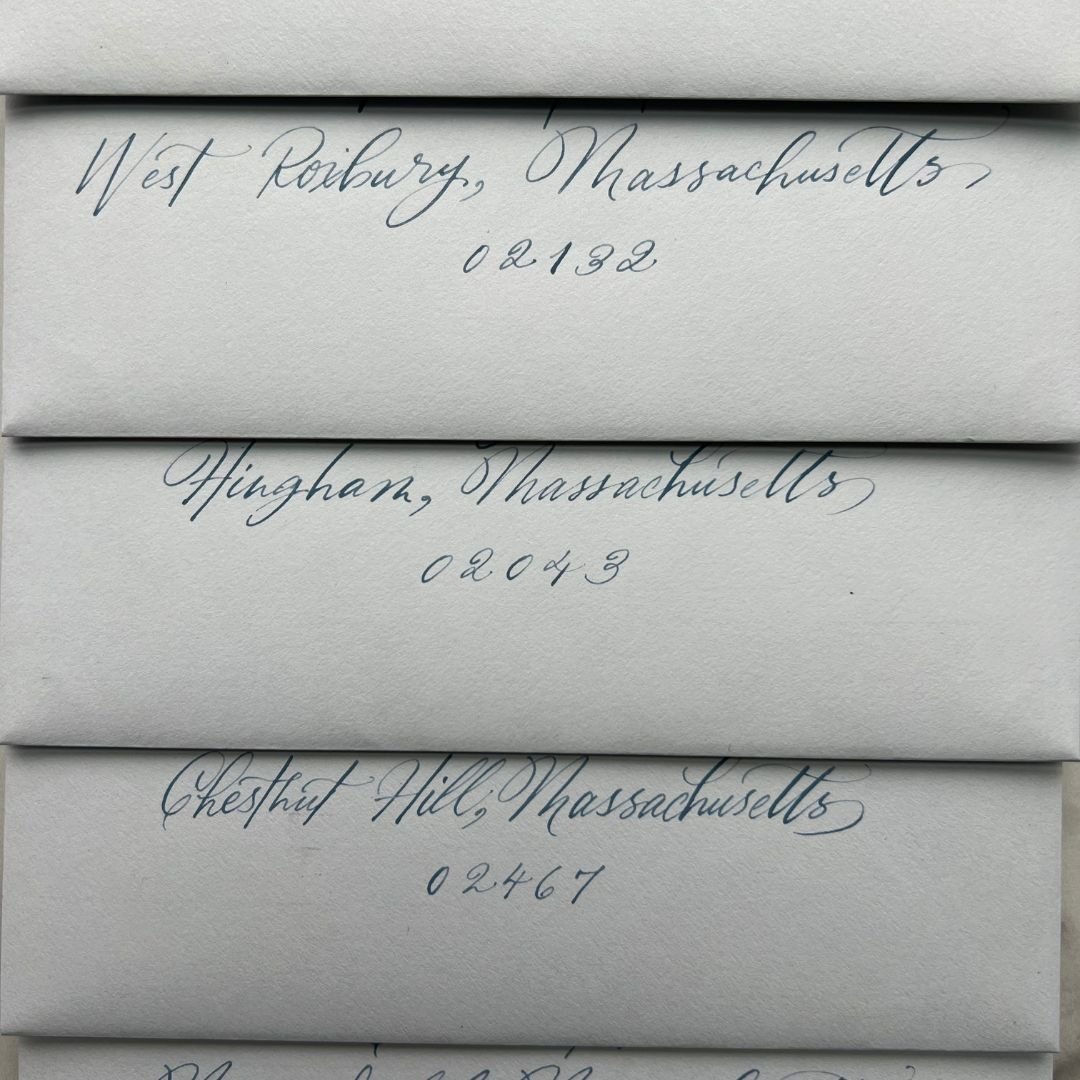
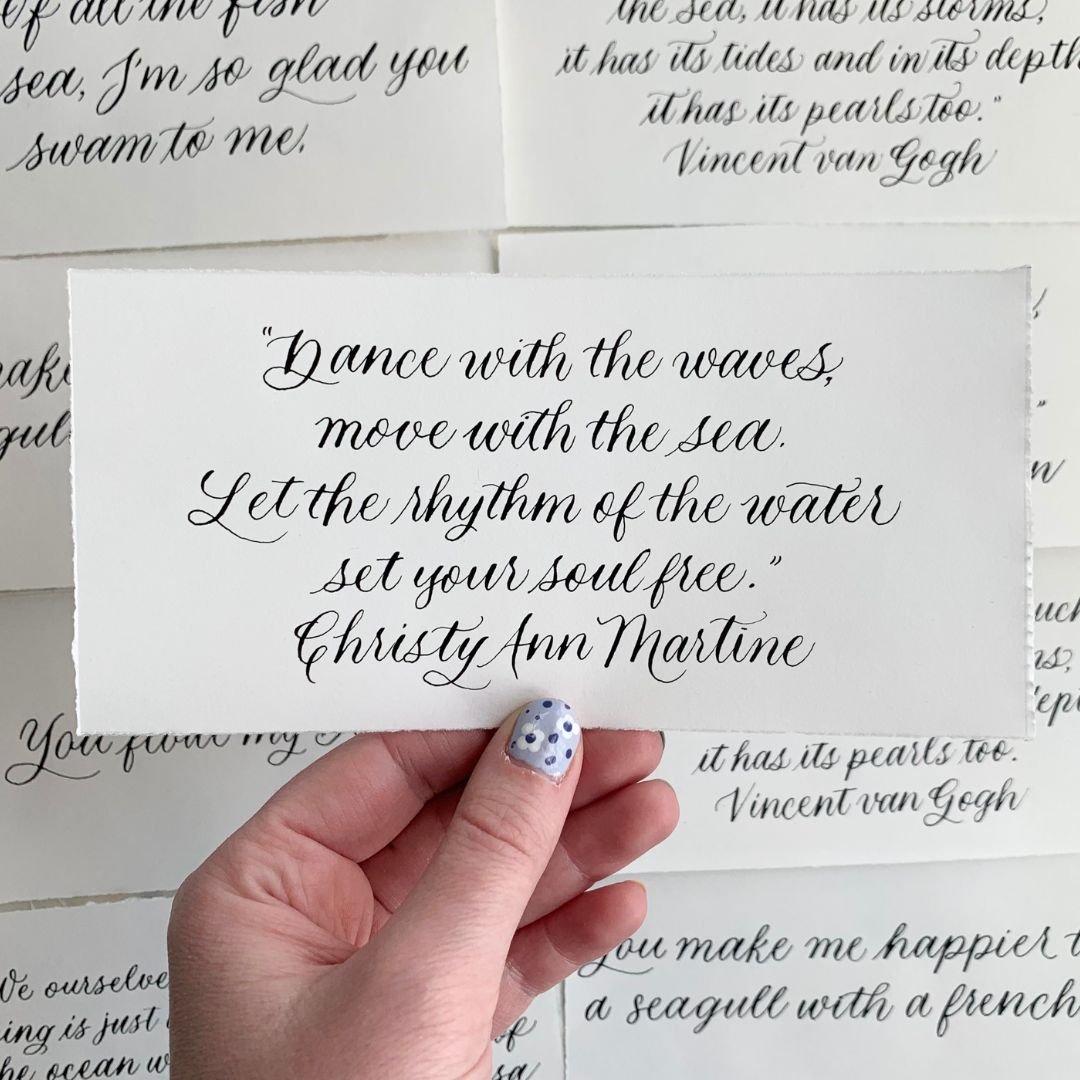
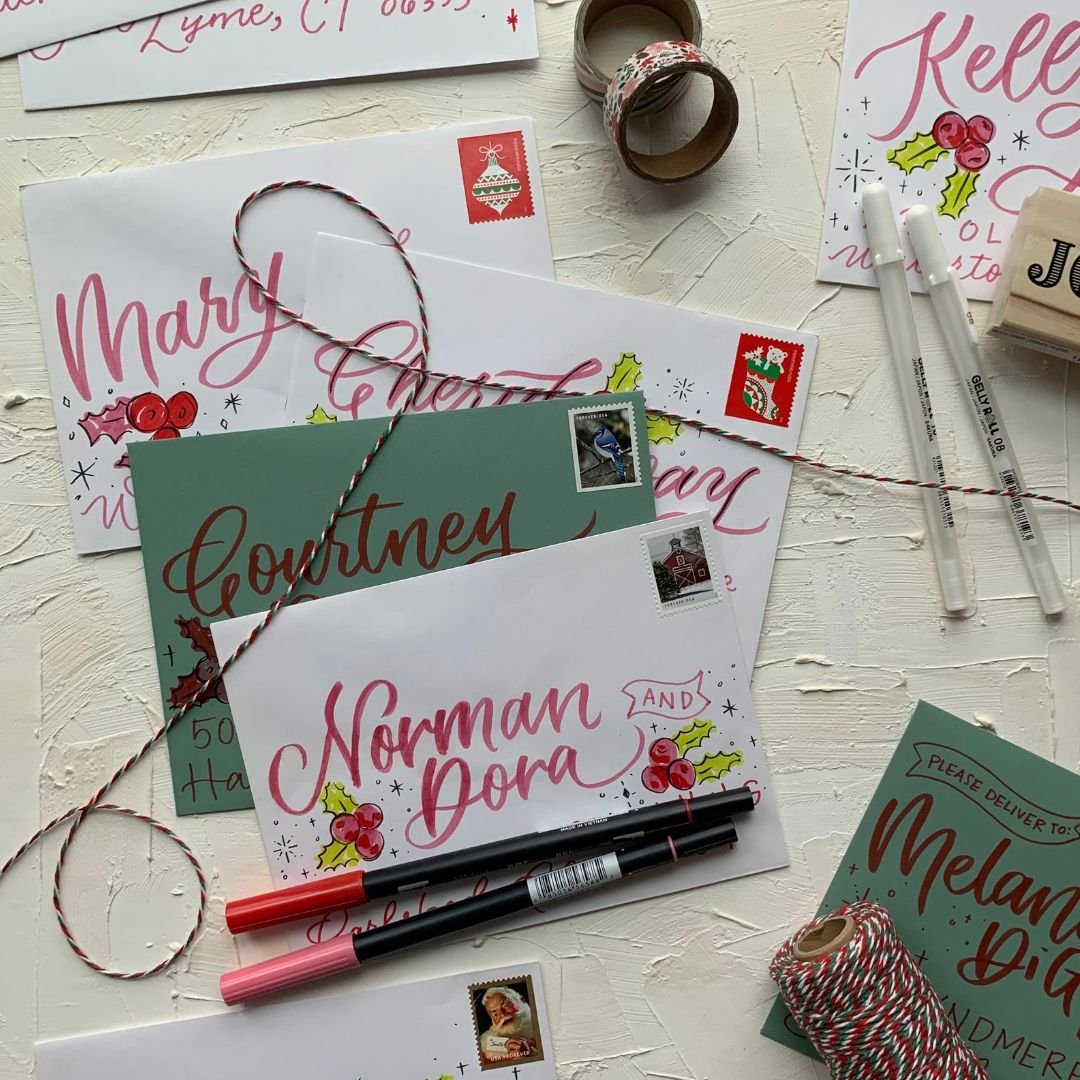
During this time, I also went on instagram and asked for people’s favorite quote or song lyric, really whatever they wanted my to write out for them in calligraphy. I would send these out for free, in a pretty, calligraphed envelope to their address. Anyone who wanted one could let me know. I didn’t have a ton of followers at the time so it was mostly people I knew personally, but I got a lot of interest, engagement, and had so much fun with the project! It also gave me real creative purpose to my practice. I also began tagging brands at this time, and had a few posts shared by accounts like Paper Source, which was exciting and gratifying, and continued to help me grow in exposure.
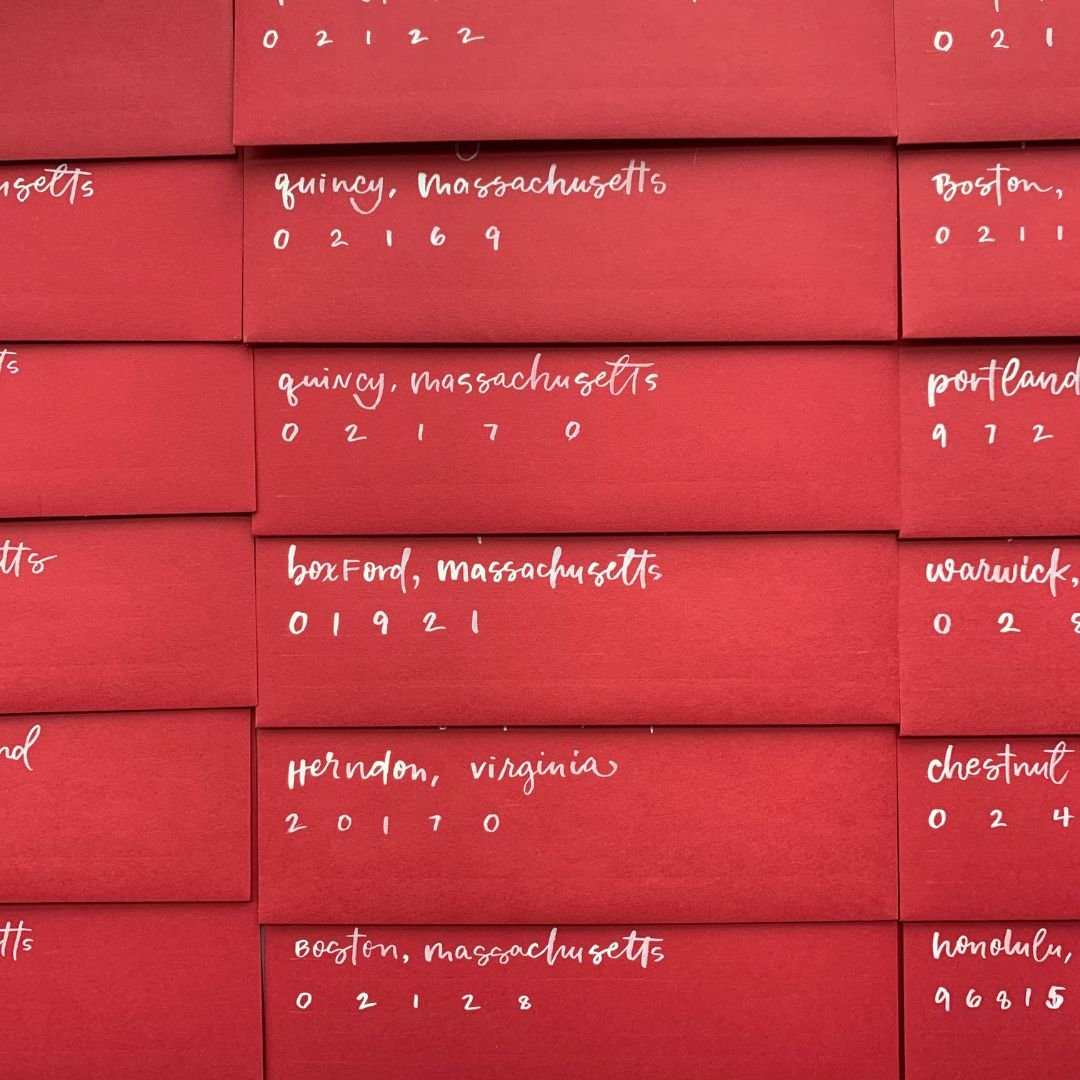
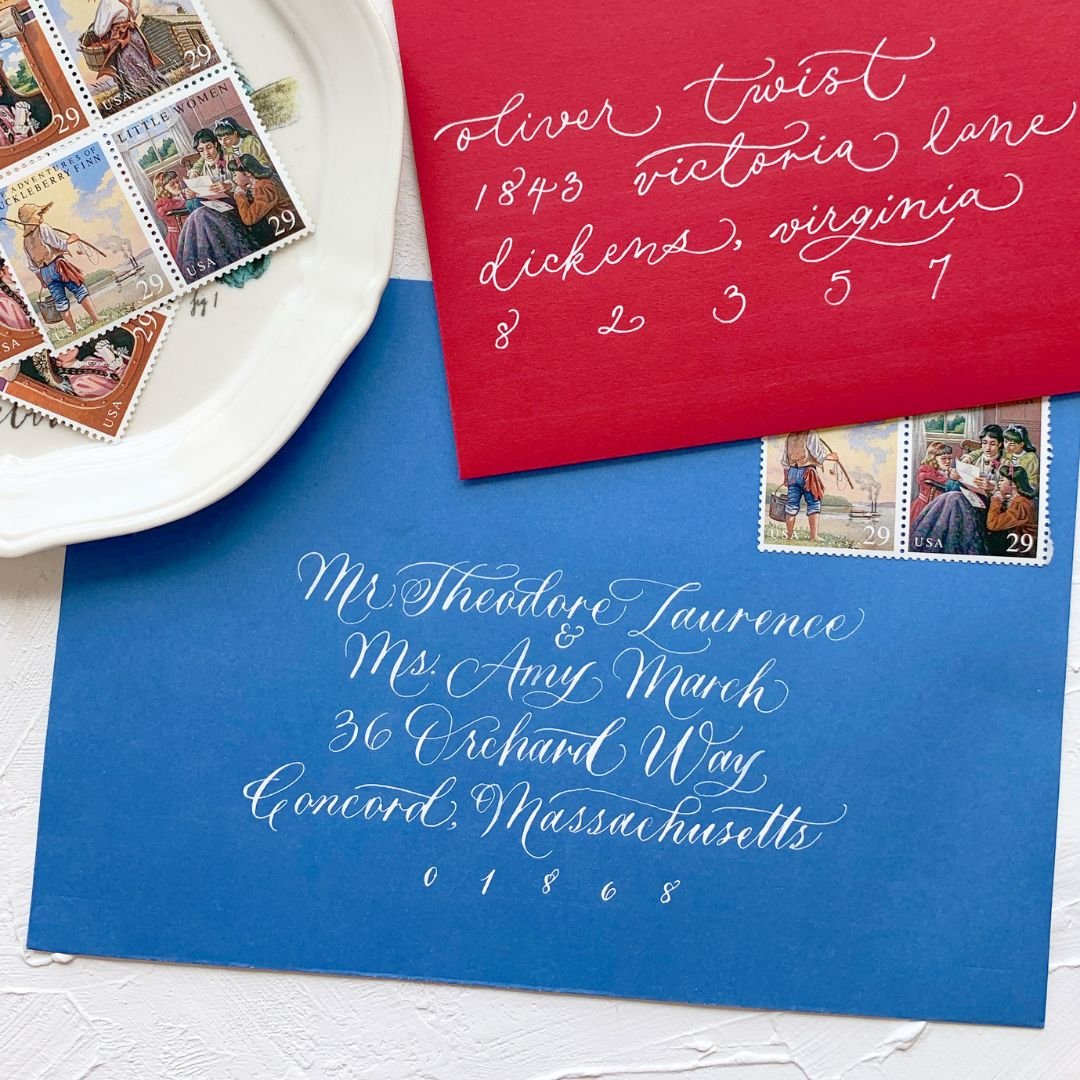
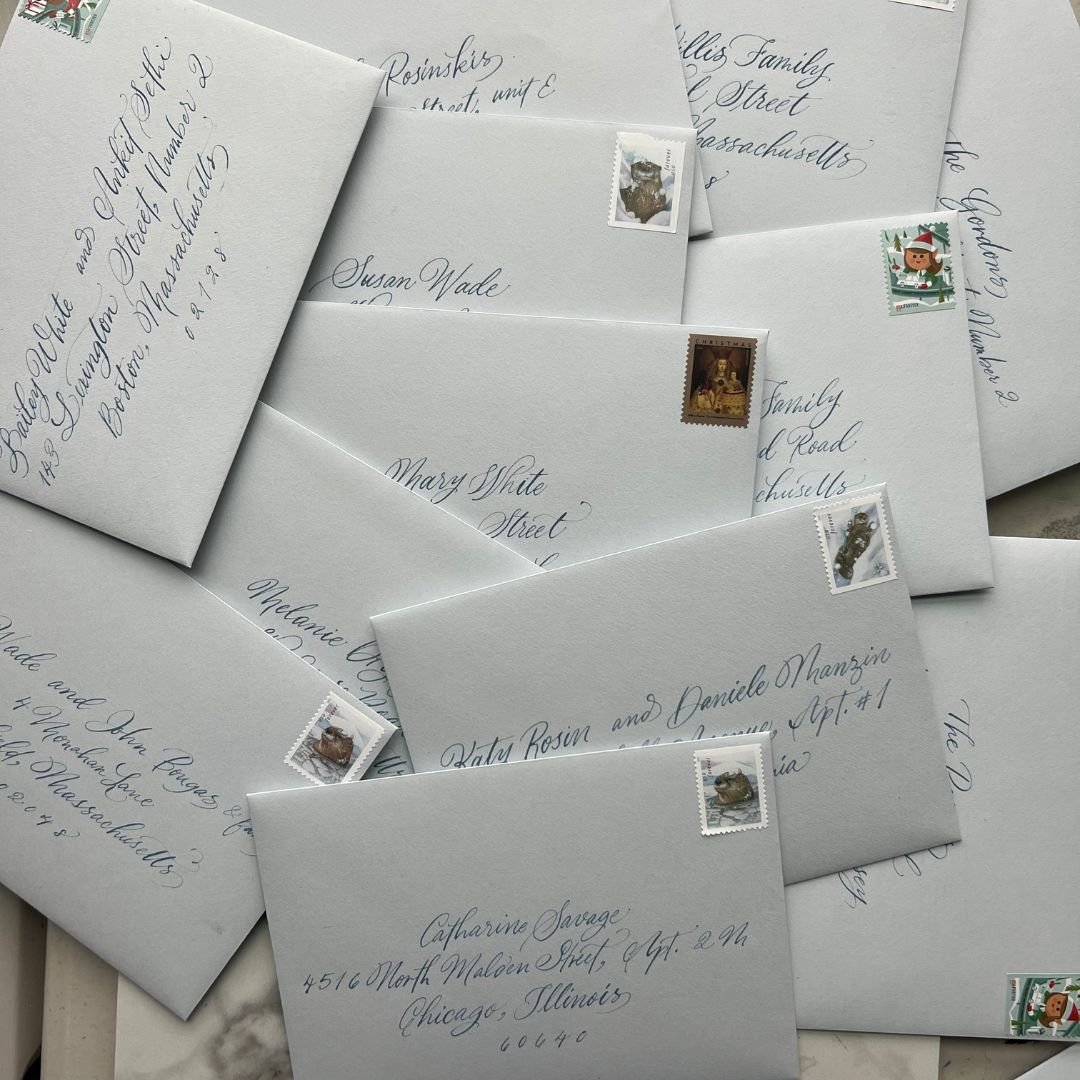
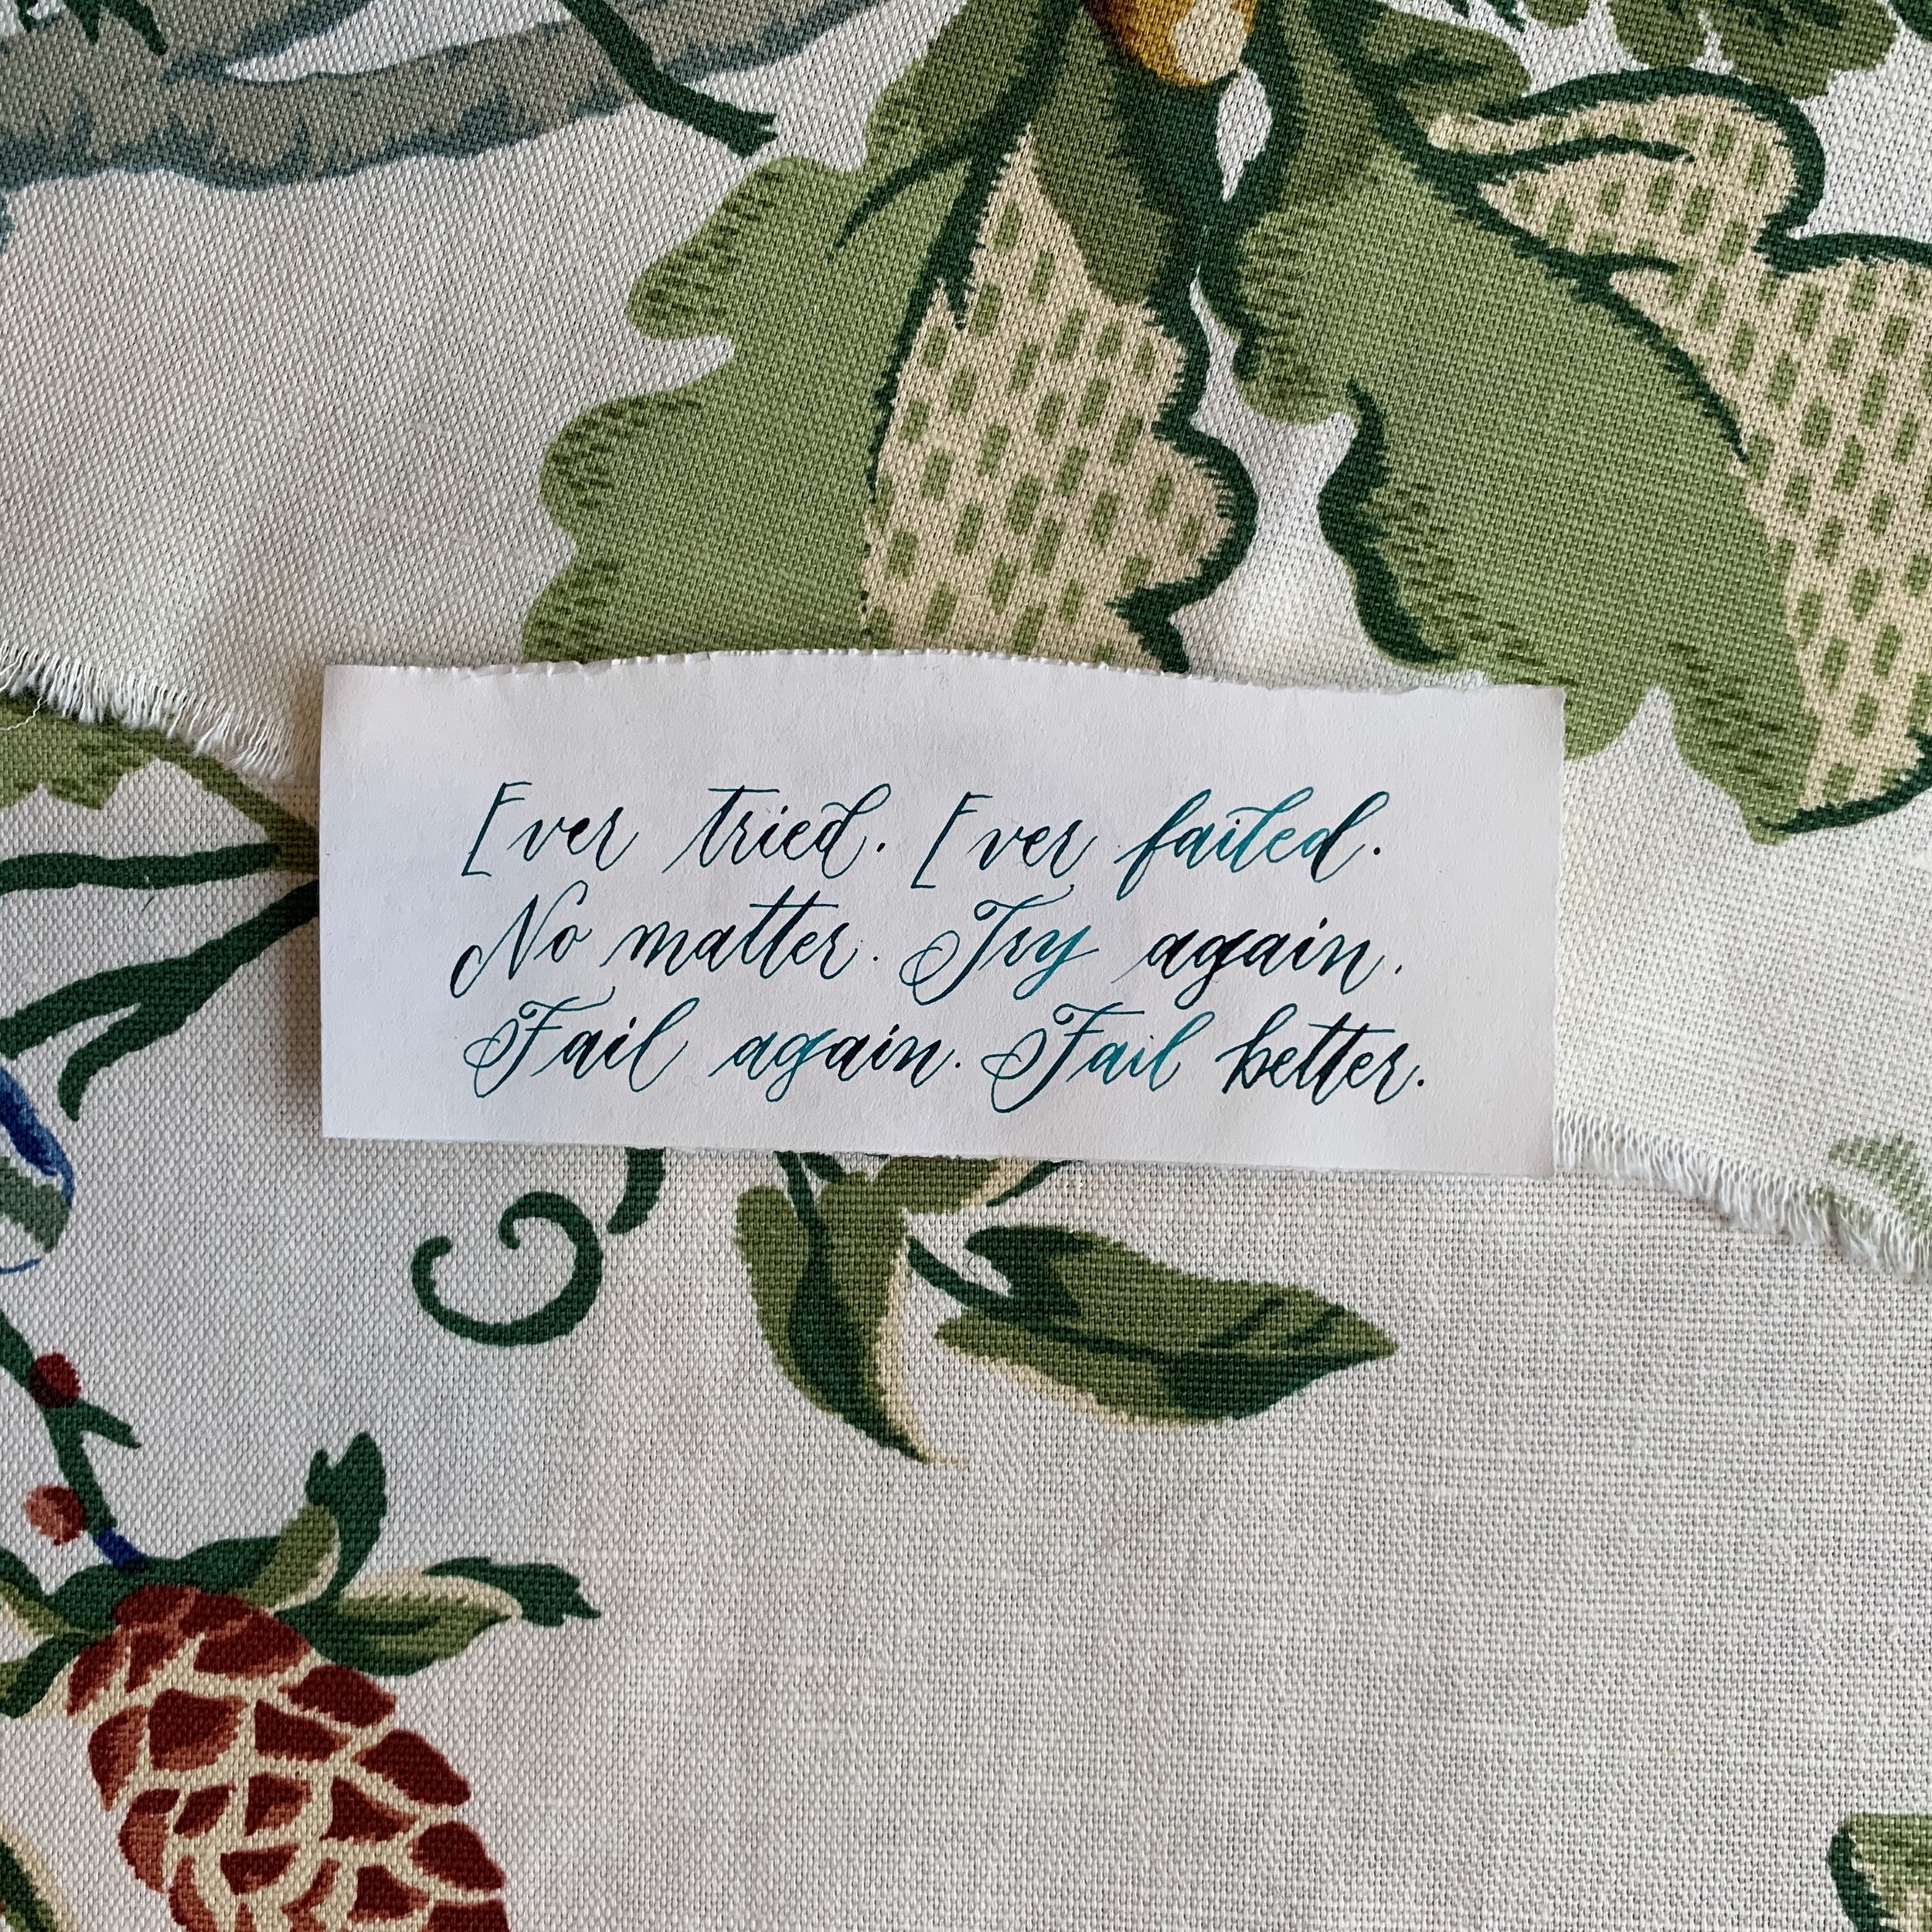
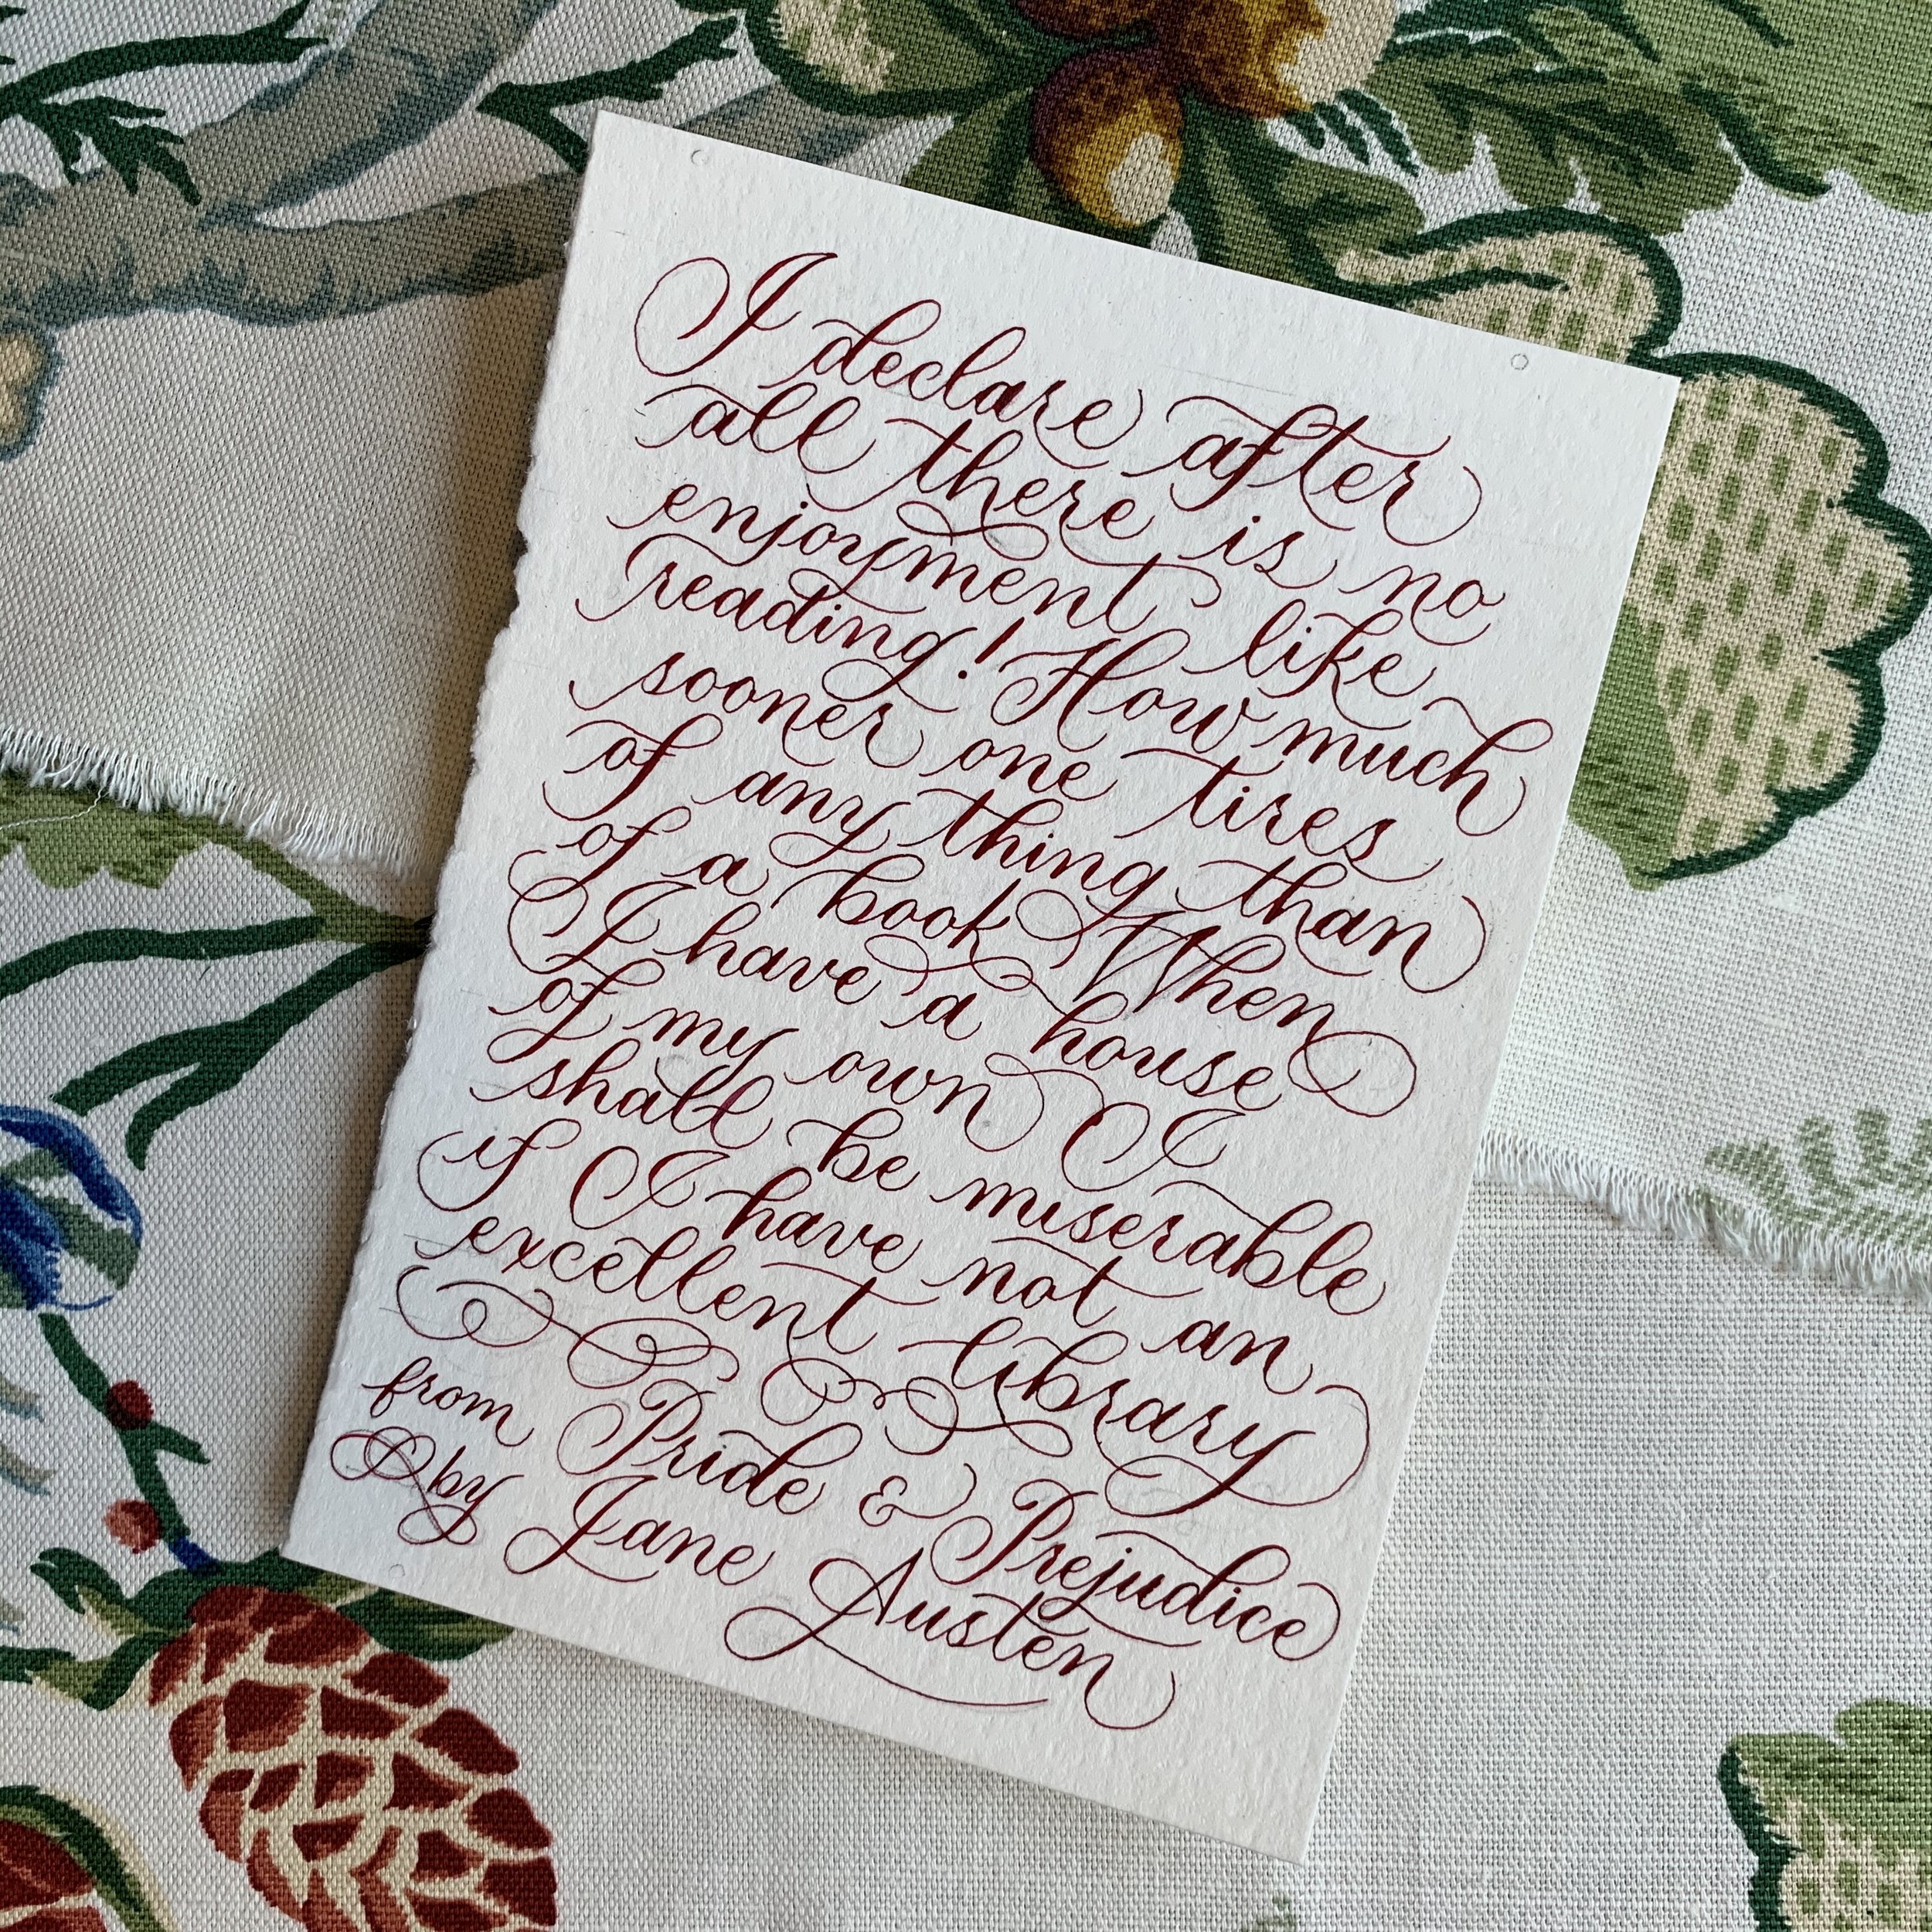
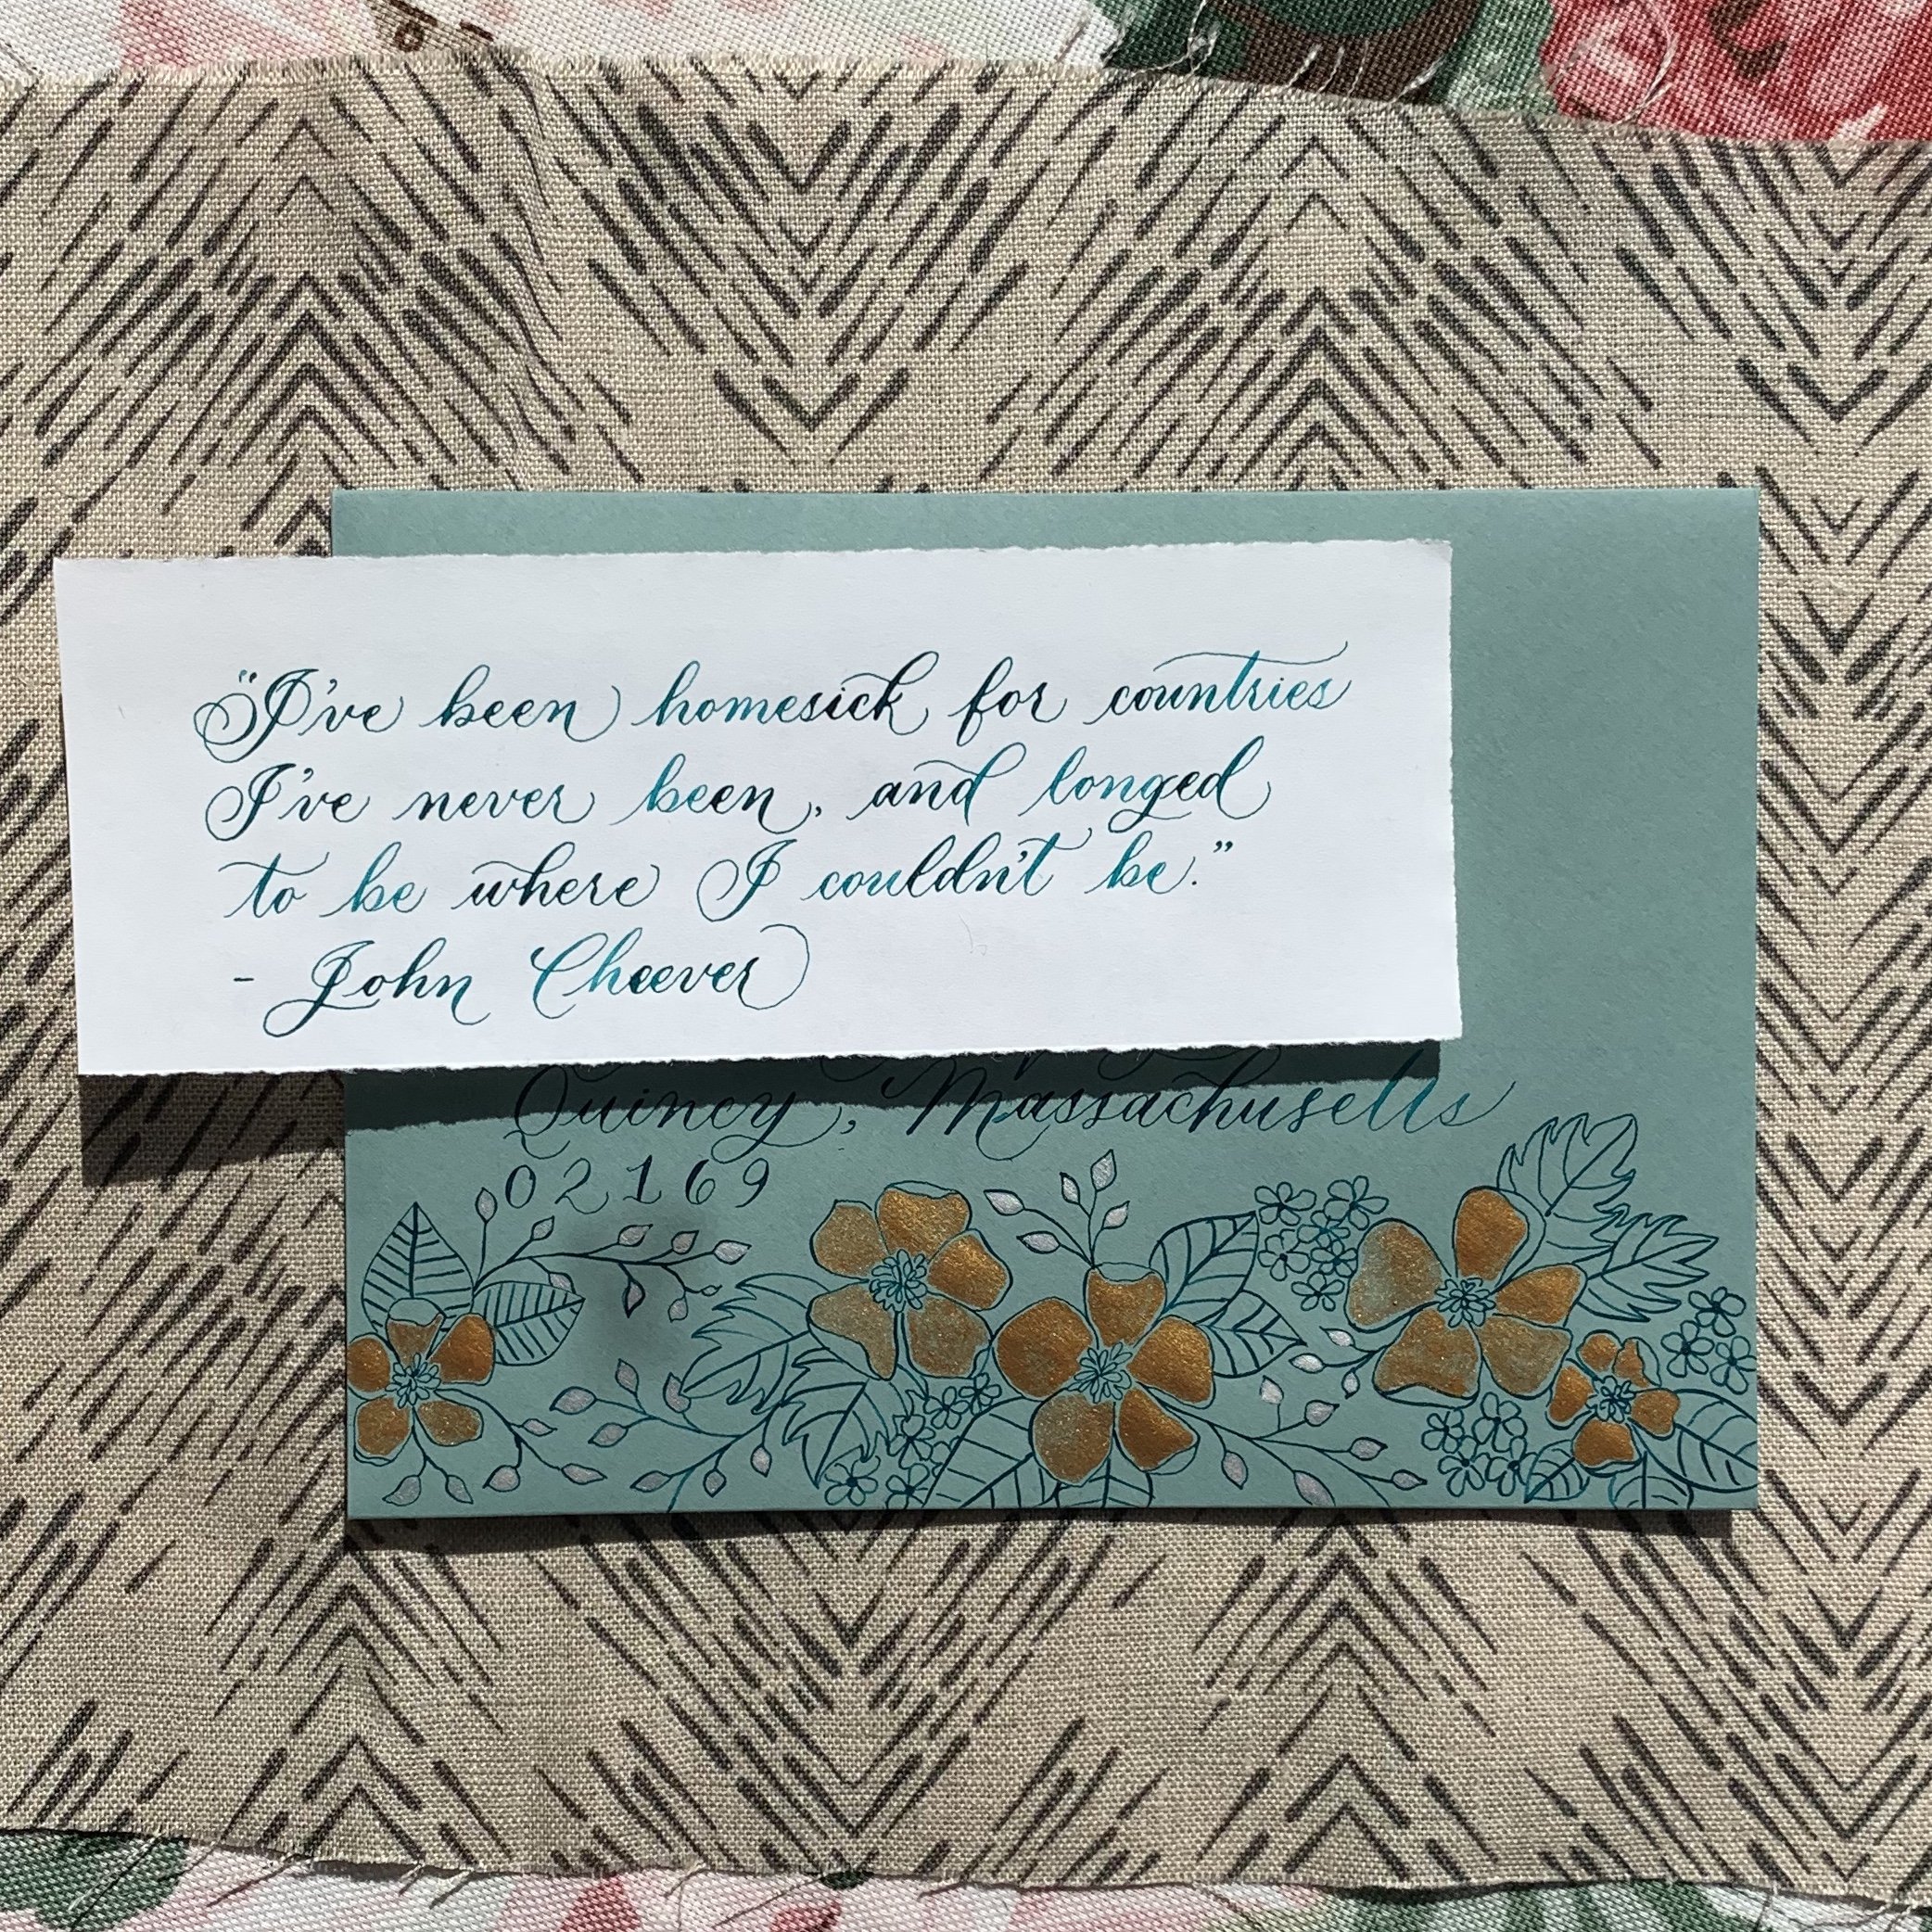
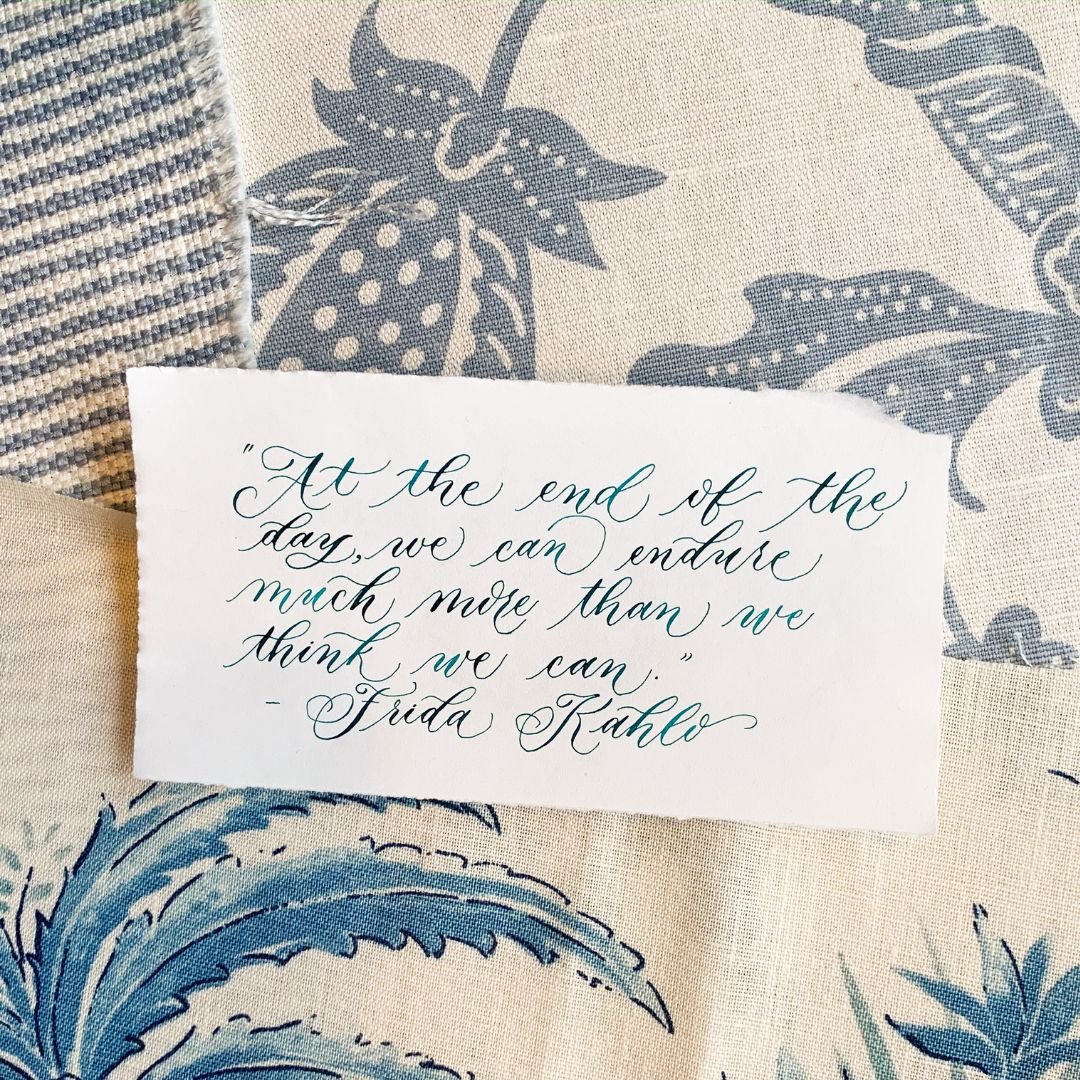
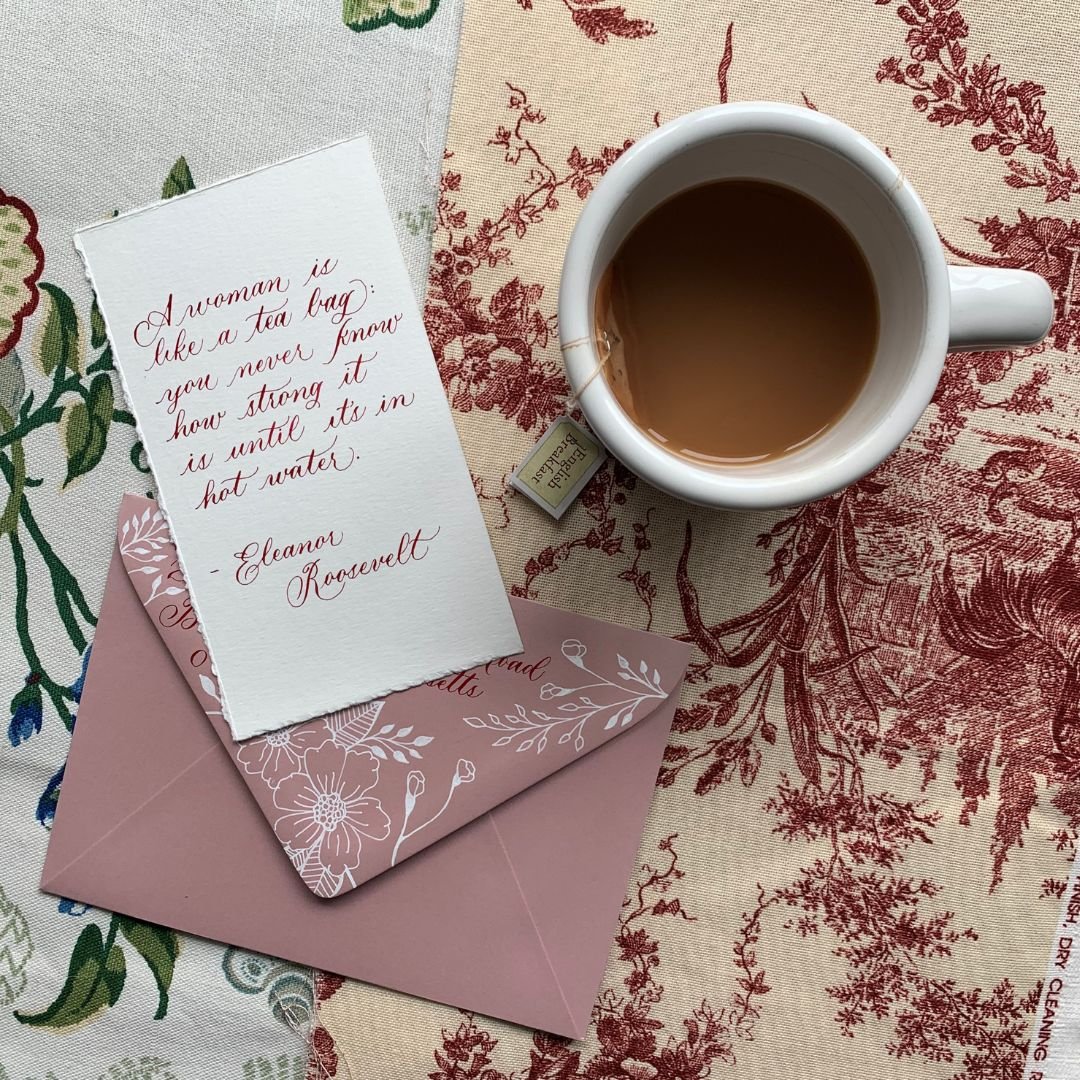
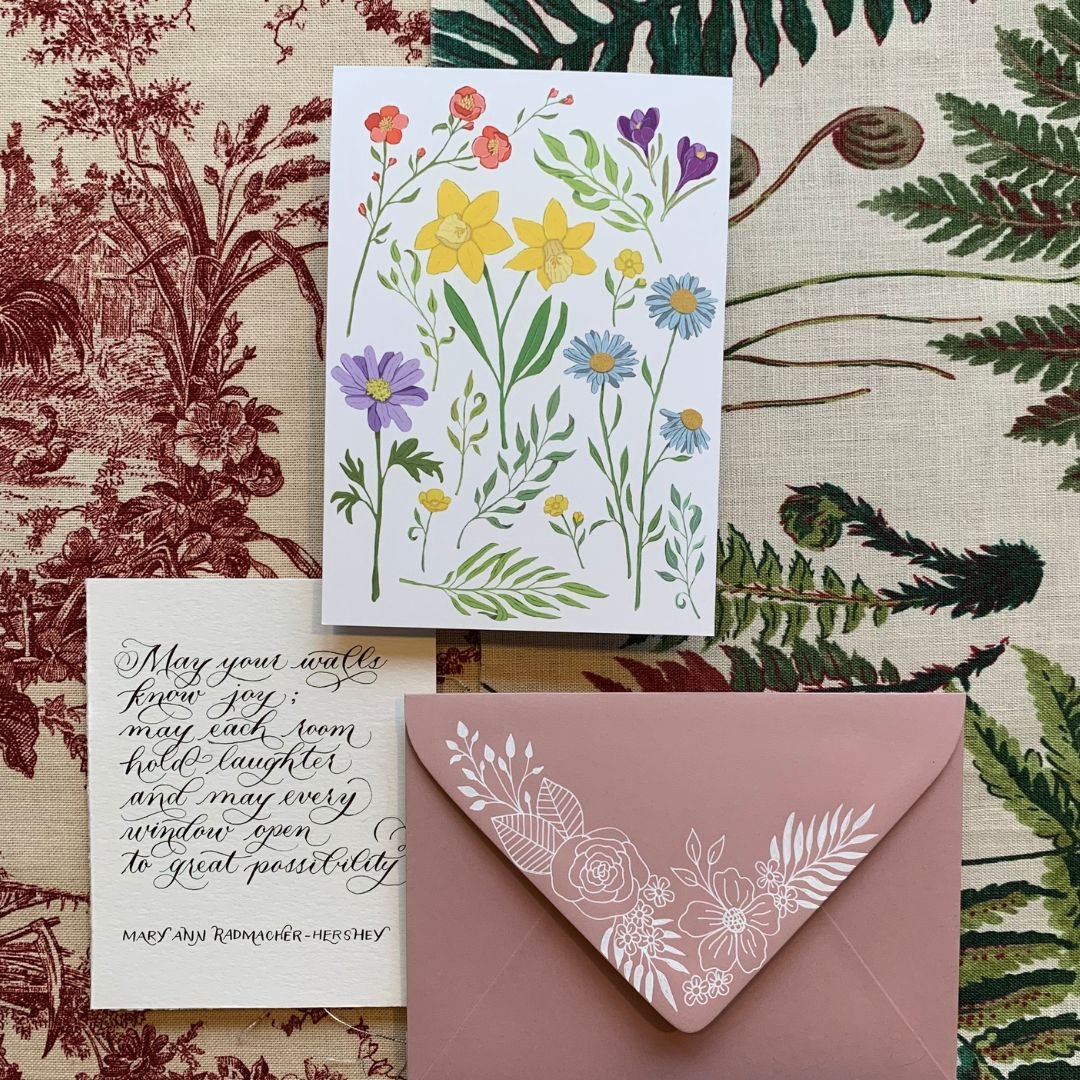
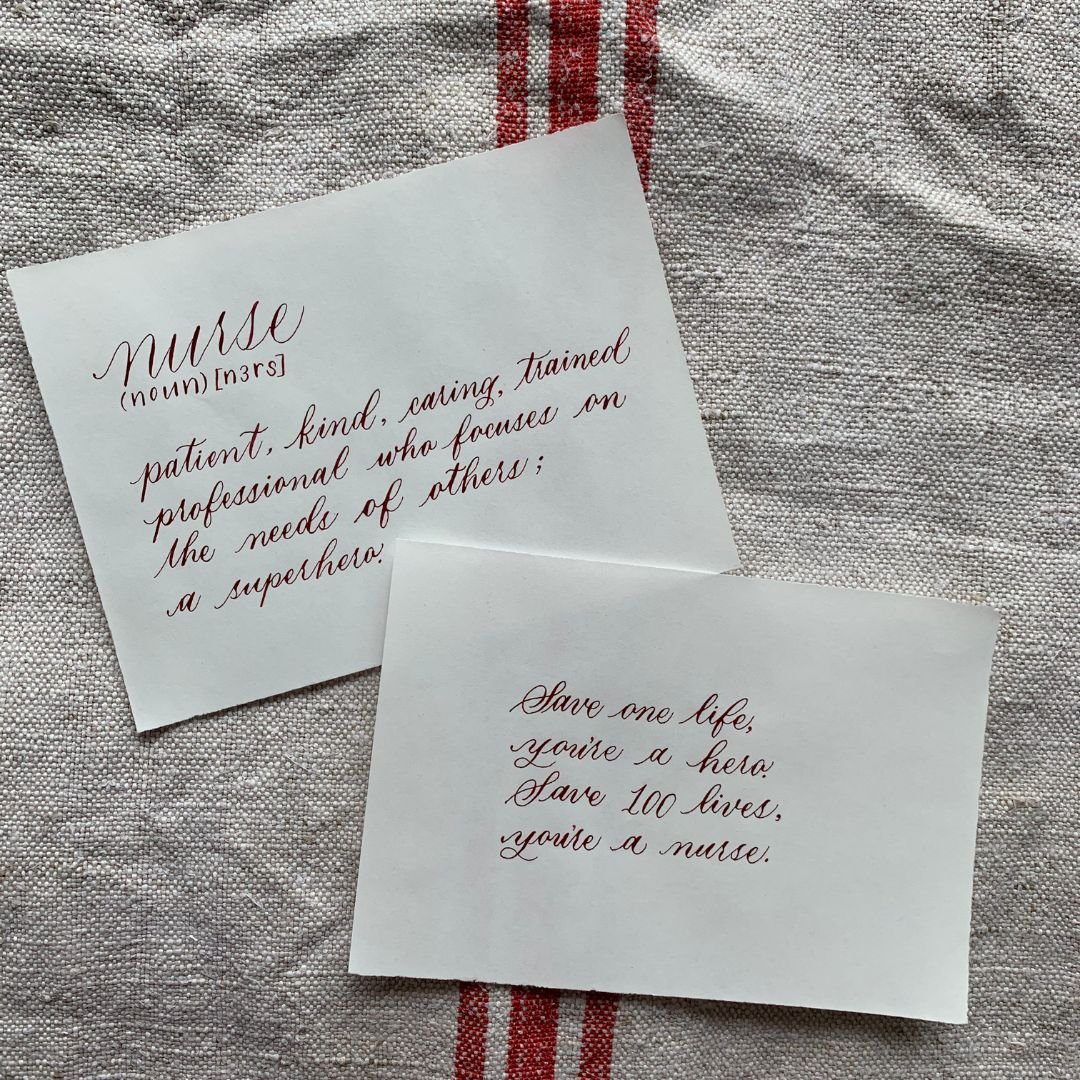
I encourage you to steal this idea, or do something similar! (There’s also a welcoming penpal community on Instagram that I’ve enjoyed!) It was an exercise that really helped my hit my groove and practice in a fun, creative way. Looking back, I think it was definitely a turning point! Take a look at some examples from this project in the gallery below:
Reach Out to Lexi!
If you’re reading this early in your calligraphy journey, first off, I hope this has been helpful! I understand all to well how long the process of calligraphy learning feels when you’re at the beginning of it, and the many frustrations that will inevitably arise when working with a fickle medium!
You may have questions and struggles you want to discuss, or wins you want to share! I’d love to hear about them, so please do not hesitate to comment on this blog post or reach out to me by email at lexi.deconti@gmail.com to chat all things calligraphy! And feel free to connect with my on Instagram @leximayde, as well!
Lexi’s Calligraphy Resource and Supply List
Updated 12/6/2023
RESOURCES
Classes
I started calligraphy with a class with Liz! She’s fantastic and provides lots of great resources, supplies, and fun goodies at her classes.
Books
Modern Calligraphy by Molly Suber Thorpe
The Calligrapher’s Business Handbook by Molly Suber Thorpe
If you’re thinking about a side hustle (or more!) this is helpful.
Online Resources
The Postman's Knock is a great website for beginners that I leaned on a lot early on!
Her blog is a really thorough and comprehensive resource, with good supply recommendations, project ideas and tutorials, and lot's of helpful insight into her journey learning calligraphy. Whenever I was questioning anything or struggling as I was learning, I’d scour her blog and pretty much always find a helpful answer.
Love her style, and she has some good freebies: practice sheets and grids. I regularly use her grids.
Skillshare
You can often get a free month or similar deal, so look for that.
I loved my Skillshare subscription when I had it, for calligraphy and many other fun creative skills, too.
More of a brush pen/lettering focus I’d say? Very modern, fun style. Lots of great and creative resources, DIY ideas, challenges, etc.
Great video from her about understanding letterforms--so important!
Just generally check out her Youtube channel because it’s full of good stuff for beginners.
Where to Shop
Cards and Pockets for Hight Quaity Envelopes that will take Calligraphy ink (believe me, not all envelopes are created equally…)
Paper, Ink, Arts for Calligraphy Supplies
SUPPLY LIST
Paper
This smooth printer paper is a favorite practice paper for many.
I practiced a lot on this paper because it is very thick and sturdy, so it won’t really bleed. Also cheap! I also will use this, or a higher quality watercolor paper (Fabriano is another favorite brand), for calligraphy print commissions and other projects.
This is textured. A hotpress watercolor paper would be smooth and also work well if you prefer.
Great, smooth paper for practice.
Inks
This is what I use. Don’t be afraid to dilute with water as needed.
This is what I use for white calligraphy. Dries out quick so need to dilute. It’s NOT permanent unfortunately so can’t get wet. But I haven’t found a white that compares.
Comes with a soft tip and hard tip. These are far and away the easiest brush pens to use, and a great option if you don’t want to get all set up with your ink.
These are another great beginner option with better color range.
Pens, Nibs, and Tools
You’ll pour our ink into these and dip your nib in to write.
This is the one I use!
I have some of these and use occasionally
easy template for envelope lines
My go-to for erasing pencil guides
Always like to have one of these around as well.
The only two nibs I regularly use:
Nikko G Nig (best for beginner)
Brause Steno Nib aka Blue Pumpkin (more intermediate nib)
This is the one I have.
For lining dark envelopes
Calligraphy SOS
Sometimes you can fix a small mistake instead of ditching the whole envelope! I use these tools to do that…
You may eventually want…
Great for monoline calligraphy and faux-calligraphy
I do have one of these for when I want to try out new/different nib types
Size 2 Round
This is what I use for watercolor lettering
These are so great, and so many enticing colors! But there’s a learning curve with the brush tip for sure. Not for beginners, in my opinion.
Happy Lettering!
Want to see more of my work?